In today's digital photography school tutorial I will show how you can take and make professional looking images using technology which is called HDR photography.
In fact before teaching you how to take and process a HDR images please take a note - I have been doing HDR photography less for one month. My findings so far are - like HDR is the best thing (I know as time will go I will probably change my mind and will go back to the routes, who knows maybe I will find a B&W the next BIG thing?!). I'm not a professional photographer, just a regular dude with a DLSR camera eager to learn some new things. I'm more than glad sharing my findings with you, my dear reader.
For this Tutorial I'm using:
- Adobe Lightroom
- HDR Efex PRO
- Canon 1200D DSLR camera
- Sturdy tripod
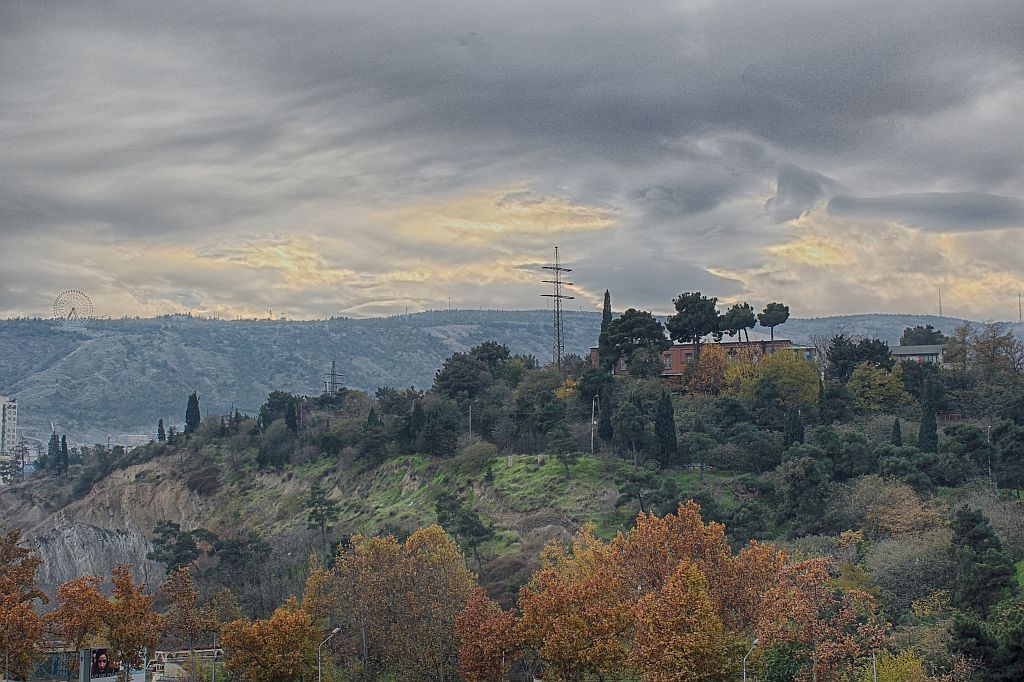
Final HDR image created with HDR Efex PRO and fine tuned in Adobe Lightroom
I submitted the above image as day 63/365 entry image on my Flickr page. I gave it a name - "It is still Autumn", taken on November 26, 2015 in Tbilisi, Republic of Georgia
Now let me show how you can take and create similar images using a DSLR camera. As I'm photographing with Canon 1200D model camera I will describe methods for this particular camera, but the same rules applies to other cameras as well.
First you will need change some settings on your camera, enter menu and set following:
- Bracketing - -2 - +2
Bracketing
From your menu select bracketing tab, then using your front tuner change values.
- Timer 2 seconds
Now make a photography - your camera will record 3 images with different exposure settings:
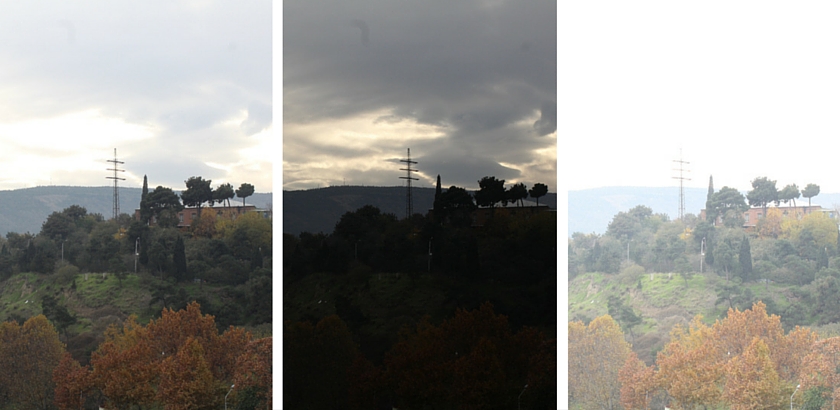
3 different exposure settings
After shooting process I like to import my images in Adobe Lightroom to post - process them.

Library folder in Adobe Lightroom
Now from your Adobe Ligtroom library select photos from your scene and export them to HDR Efex PRO
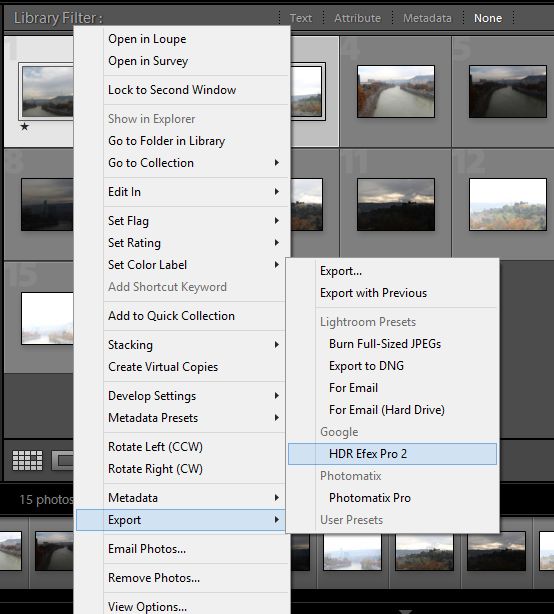
Export photos to HDR Efex PRO
CTRL+Click images from your scene you want to export to HDR Efex PRO
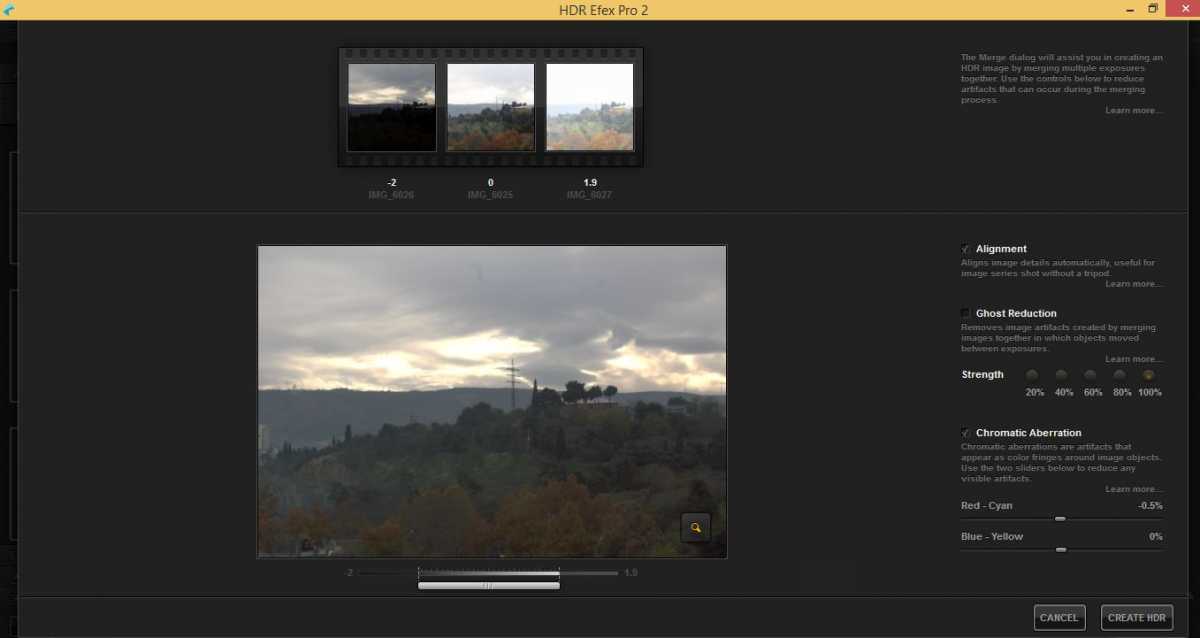
Merging Images in HDR Efex PRO
You will be prompted with a new window from HDR Efex PRO with your images presented, you can fine tune some settings here, or leave default and click on the Create HDR button.
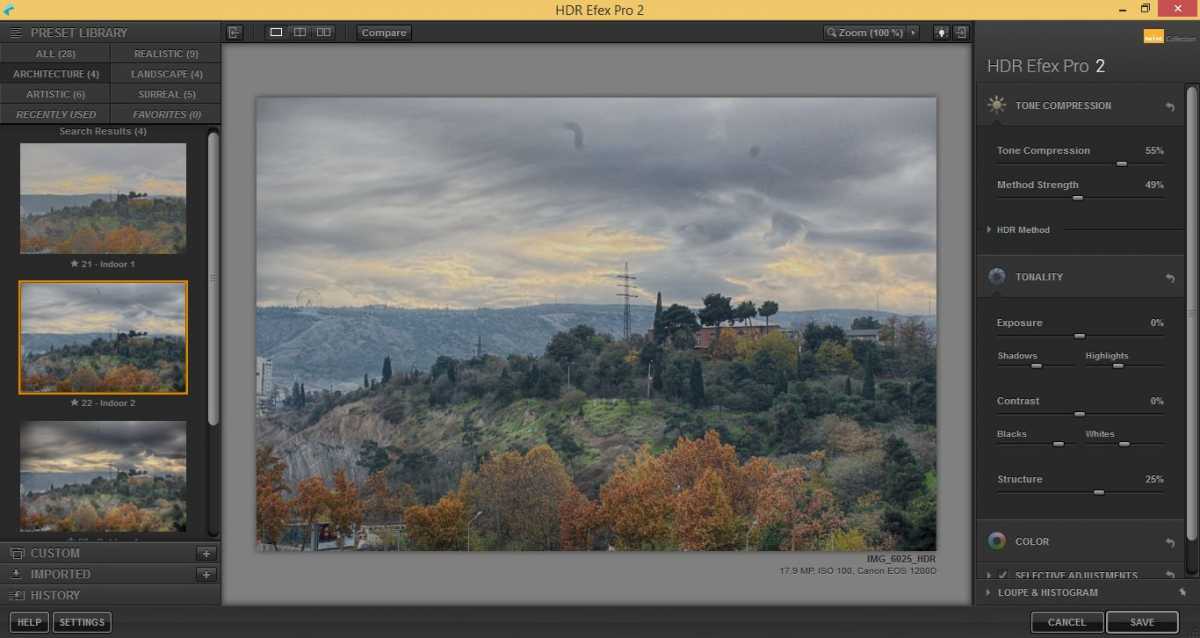
Editing HDR image in HDR Efex PRO
You are presented with 28 different and very cool presets to apply to your HDR image, or you can fine tune your image using some of the many sliders. Once you are done, click Save to import your image back to Adobe Ligtrooms to either apply some final touching or to export a final image.
Basically that's it. HDR is pretty simple if you have the right tools and little know how. Hope you liked this article, if so, please leave me a comment.