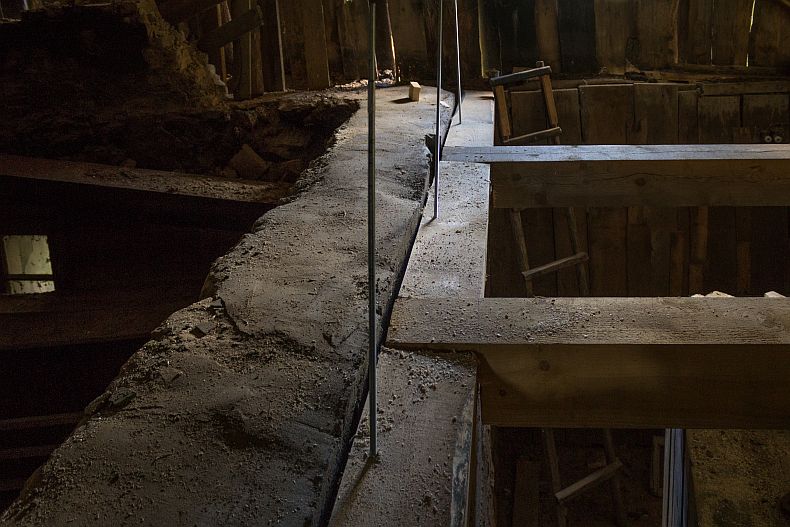
The never ending story with my adventures on home remodeling and building a bathroom continues. In todays part 3 I will tell you a brief photo story how I strengthened a beam on the stone wall.
See part 1 and learn more how I actually concreted this stone wall, while in part 2 see how we actually installed first bearing beams above bathroom ceiling. I'm of course talking not only about bathroom, but about a stronger and stable house as well (as bathroom will be built later into this space)
Tonight I didn't sleep, I was thinking all night along on how should I will replace outer wood walls with AAC blocks. Previous day I had bought masonry drill and special glue for concreting bolts (left from previous year's roof works)
I was eager to start drilling that huge stone wall at 4:00 AM, thus I waited until 7:00, and the I striated. Should I mention - my partner was not very pleased about my morning activities?
Drilling holes for bolts
I had to use two types of drills - wood drill and masonry drill. I drilled for about 6-7 cm each and later with help of a special masonry glue concreted bolts in the stone wall. This is a very important integral part of houses backbone - correctly installed and strengthened beam can save a house's roof from a strong wind, for example, by keeping it a top on the house.
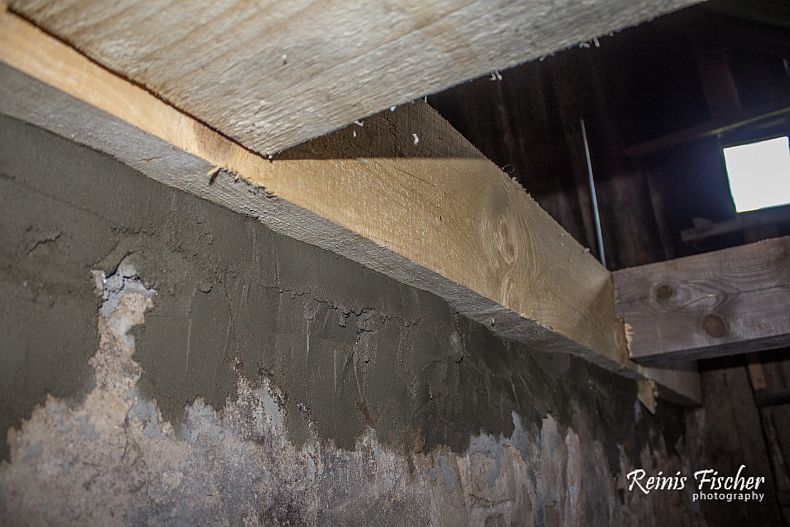
Concreting below beam
More concreting to make it rock solid.
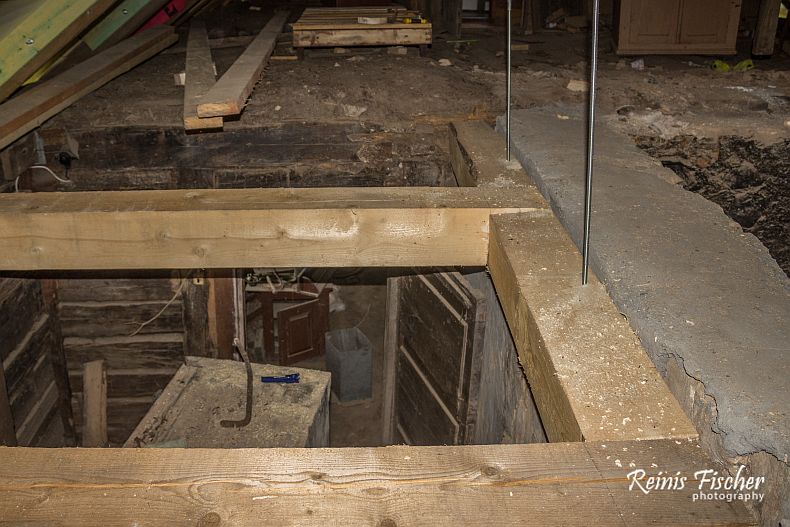
View to the upcoming bathroom from second floor
Do you see a bathroom there? Nope? Me neither. Hopefully by the Spring of 2017 it will be finished.