Before proceeding with the upgrade, it's important to make a backup of your Drupal 6 site. This includes both the database and the files. This will ensure that you have a restore point in case anything goes wrong during the upgrade process.
Once you have made a backup, it's time to put your Drupal 6 site into maintenance mode. This will ensure that no users can access the site while you are upgrading. To do this, go to the site maintenance page (admin/settings/site-maintenance), select "Off-line" and save the configuration. If you have defined a custom maintenance theme in your settings.php file, it is recommended to comment it out before proceeding.
Next, disable all non-core modules. This is to ensure that any conflicts that may arise during the upgrade process can be easily identified and resolved. To disable modules, go to the module administration page (admin/modules) and uncheck the boxes next to the non-core modules.
After disabling the modules, delete the old Drupal 6 files. This will make sure that you have a clean slate to work with. Once you have deleted the files, it's time to run the upgrade. To do this, download the latest version of Drupal 7 and extract the files to your server. Overwrite the existing files with the new Drupal 7 files.
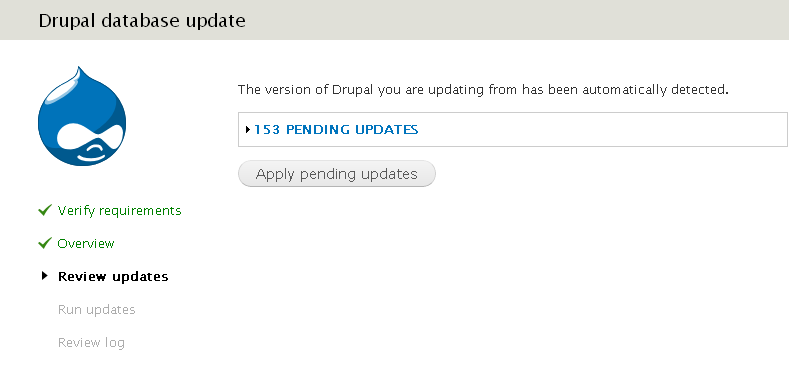
Finally, run the update script. This script will update your Drupal 6 database to Drupal 7. The update script can be found in the update.php file in the root directory of your Drupal site. To run the update, simply navigate to the update.php file in your browser (e.g. www.yoursite.com/update.php). Follow the instructions on the screen to complete the upgrade process.
In conclusion, upgrading Drupal 6 to Drupal 7 is a multi-step process that requires careful planning and preparation. By following these steps, you can ensure that your upgrade is successful and that your site continues to run smoothly.