In today's home remodeling series we are continuing to build bathroom from scratch.
The other day we removed walls and finished foundation concreting works for one part of house, today we re going to start construct first wall and finish foundation works for another wall, yes still some wall demolition works involved for today.
A few days ago construction materials arrived and today it was just a a matter of tools and two men power (I had a helping hands) to start some actual works for upcoming bathroom.
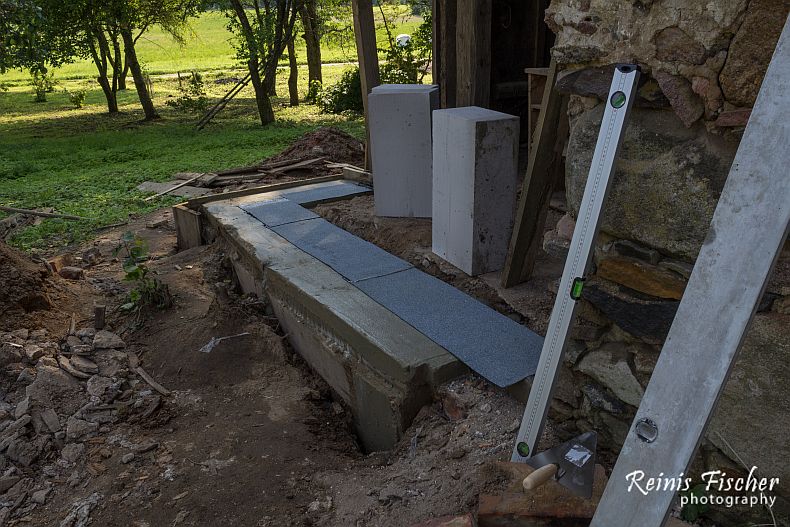
Ruberoid coating for hydro isolation
Before bricklaying we must install a hydro insulation - ruberoid is glued with special mastic.
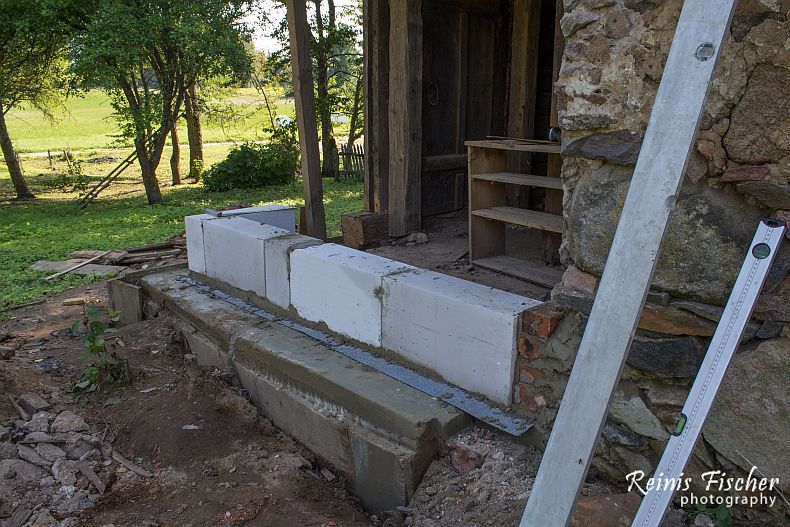
Bricklaying first row of aac blocks
There is a special glue/mastic to keep blocks together, but here is the secret first row over ruberoid must be placed on lute.
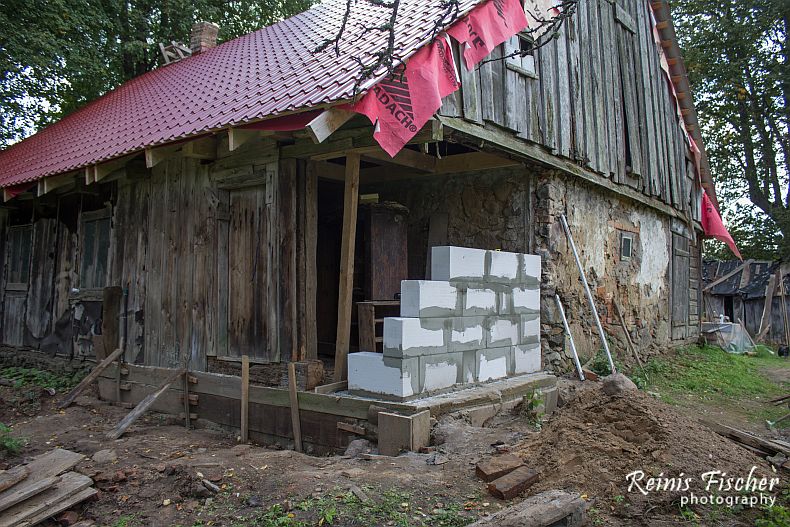
Four rows of aac blocks
It's not recommenced to build higher that four rows per day (it's about 1.2 meters in height) to avoid block shifting while glue hardens.
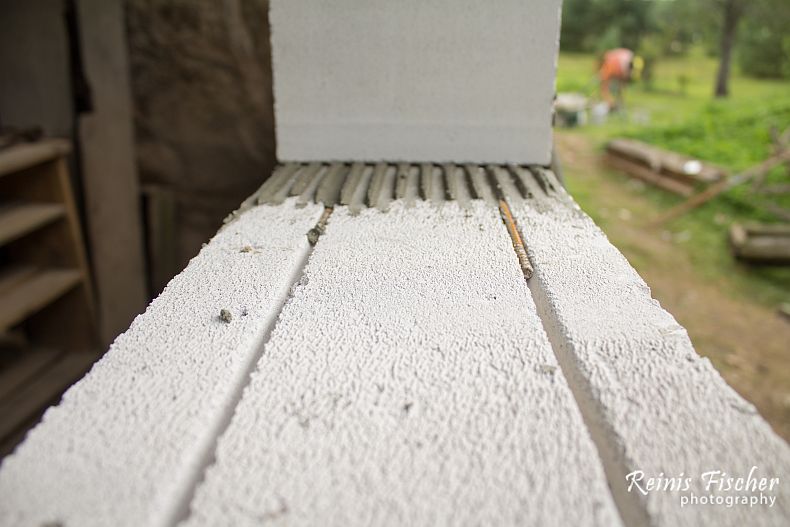
Reinforcement
At top of the each row we used reinforcement from 5mm metal rods, again to keep wall in level and avoid shifting.
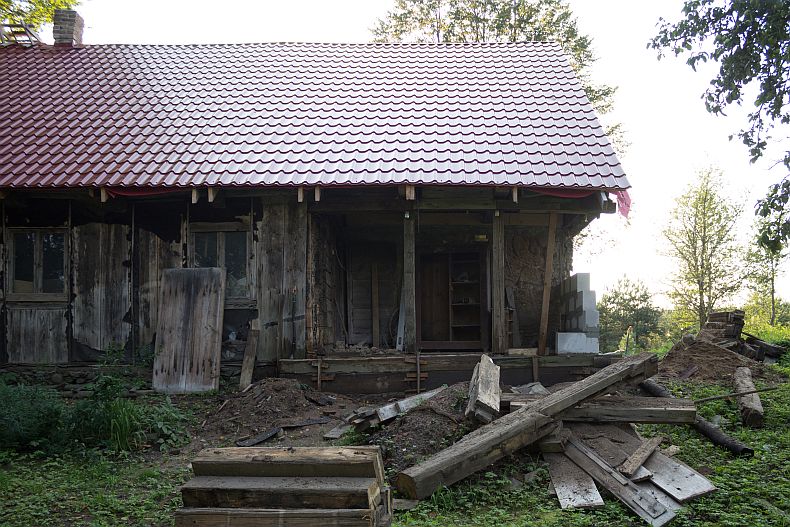
Demolishing the other wall
We will move on to this part of house with brick laying, but first we must finish pouring foundation here.
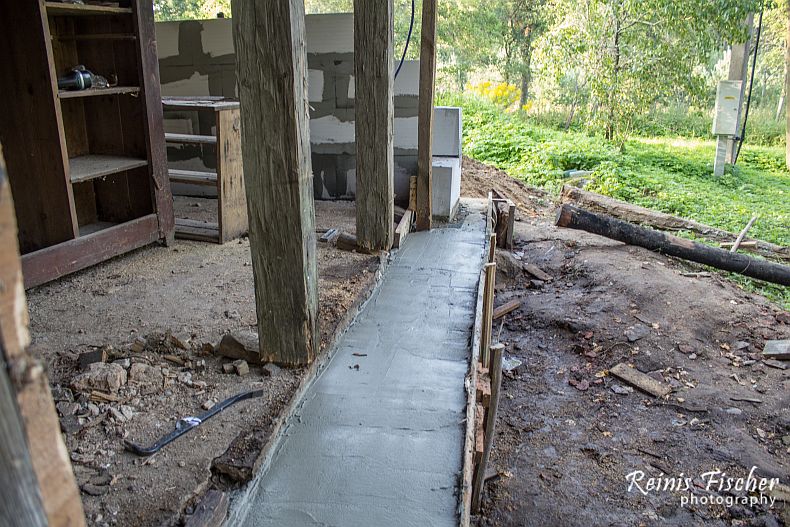
Concreting foundation
Here you go, another day in my home remodeling adventures.